
Bathroom Wall Panelling: Top Tips
It’s safe to say that we are big fans of wall panelling at Wet Wall Panel Superstore. We’d panel our bedroom, our hall, our kitchen, and even that wee cupboard under the stairs if we could!
However, it is the bathroom where our wall panels come into their element. The biggest selling point of wall panels other than being 100% waterproof, easy to clean and no need for grout - it is much cheaper than tiles to buy, cheaper to install, and should anything go wrong, cheaper to replace also.

Is Bathroom Wall Panelling right for you?
The bathroom is one of the most used spaces in your home, but it is also often neglected when it comes to decorating. Anything involving the bathroom usually means hiring a plumber to come out and with high temperatures and humidity in the room a daily occurrence it is important that you select the right materials for decorating - this is where Wall Panels come into play!
Bathroom wall panelling is a fantastic and cheaper way to breath new life into your room - with minimal effort. There’s no need to hire a wet trade to install your panels as those with DIY skills can tackle it - as long as you know how to measure up, level, saw, and caulk.

Popular Bathroom Panel Designs
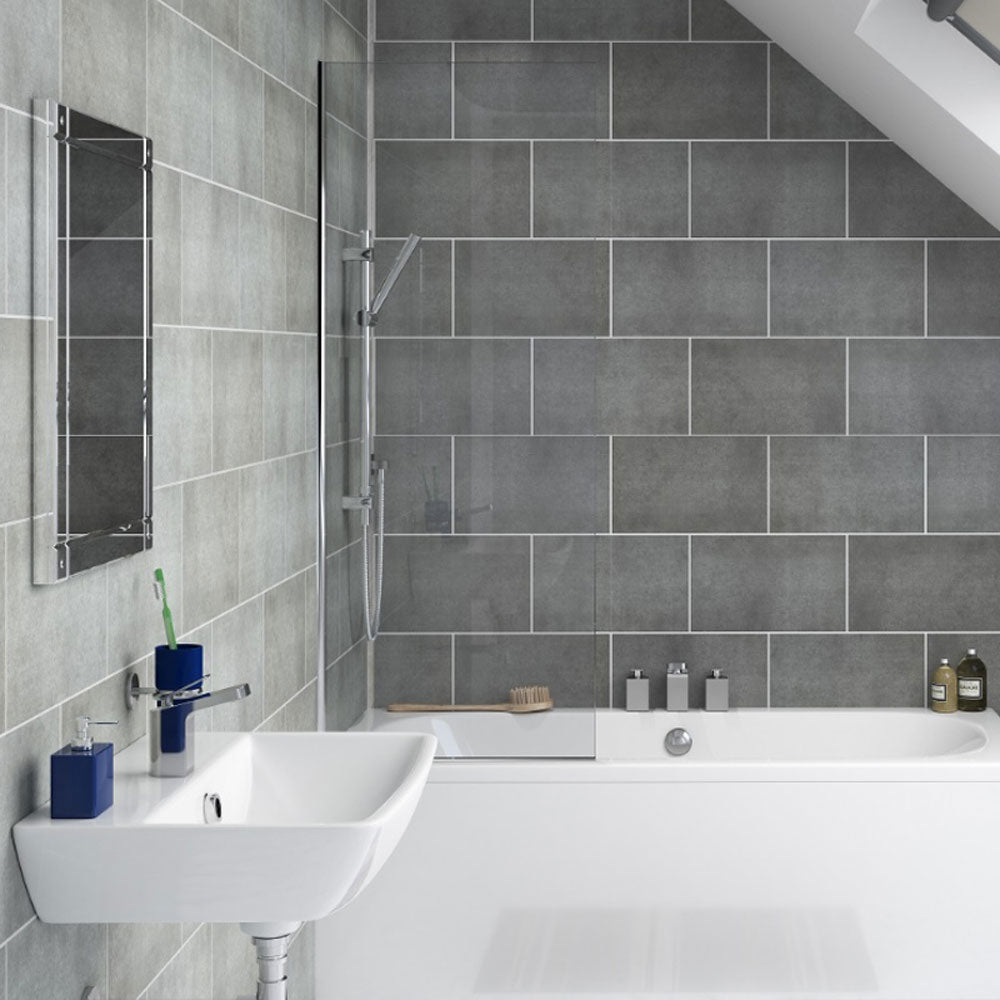
The most popular panels on the market currently are made from PVC with a tongue and groove joint system, allowing for a quicker installation - up to 5 times quicker than tiling!
And even better there’s no need to rip out your previous tiled walls as our panels can be installed on top of your outdated tiles.
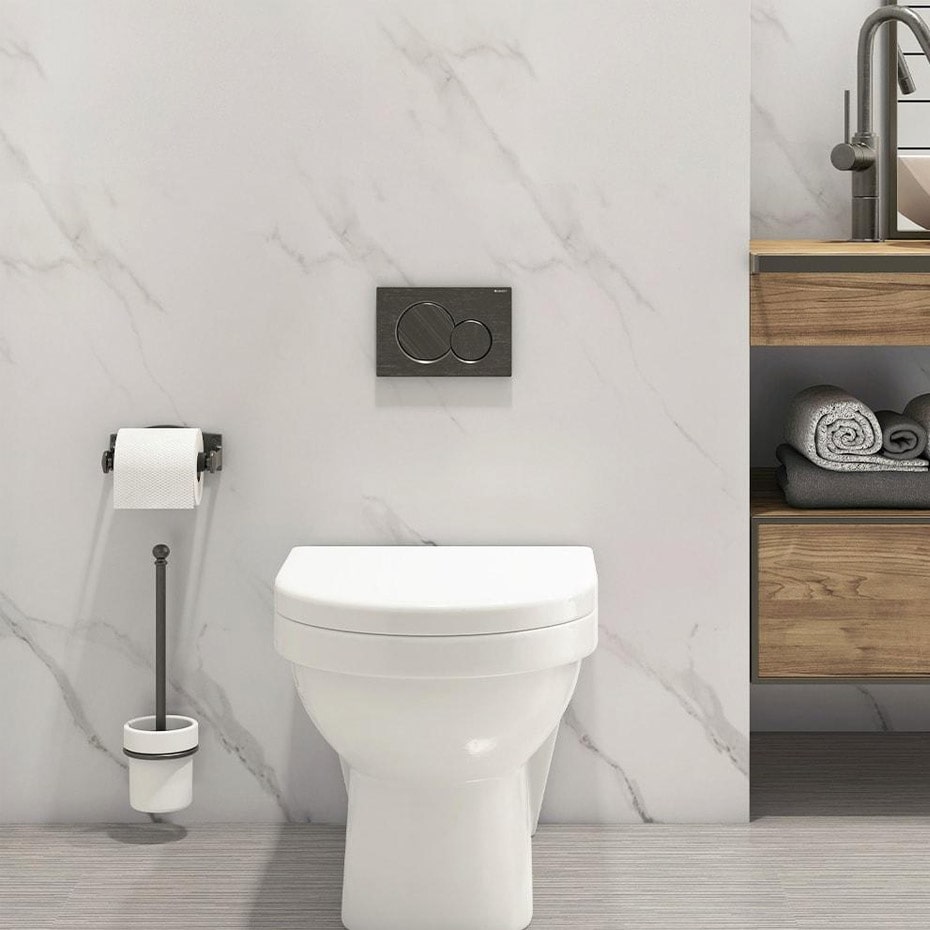
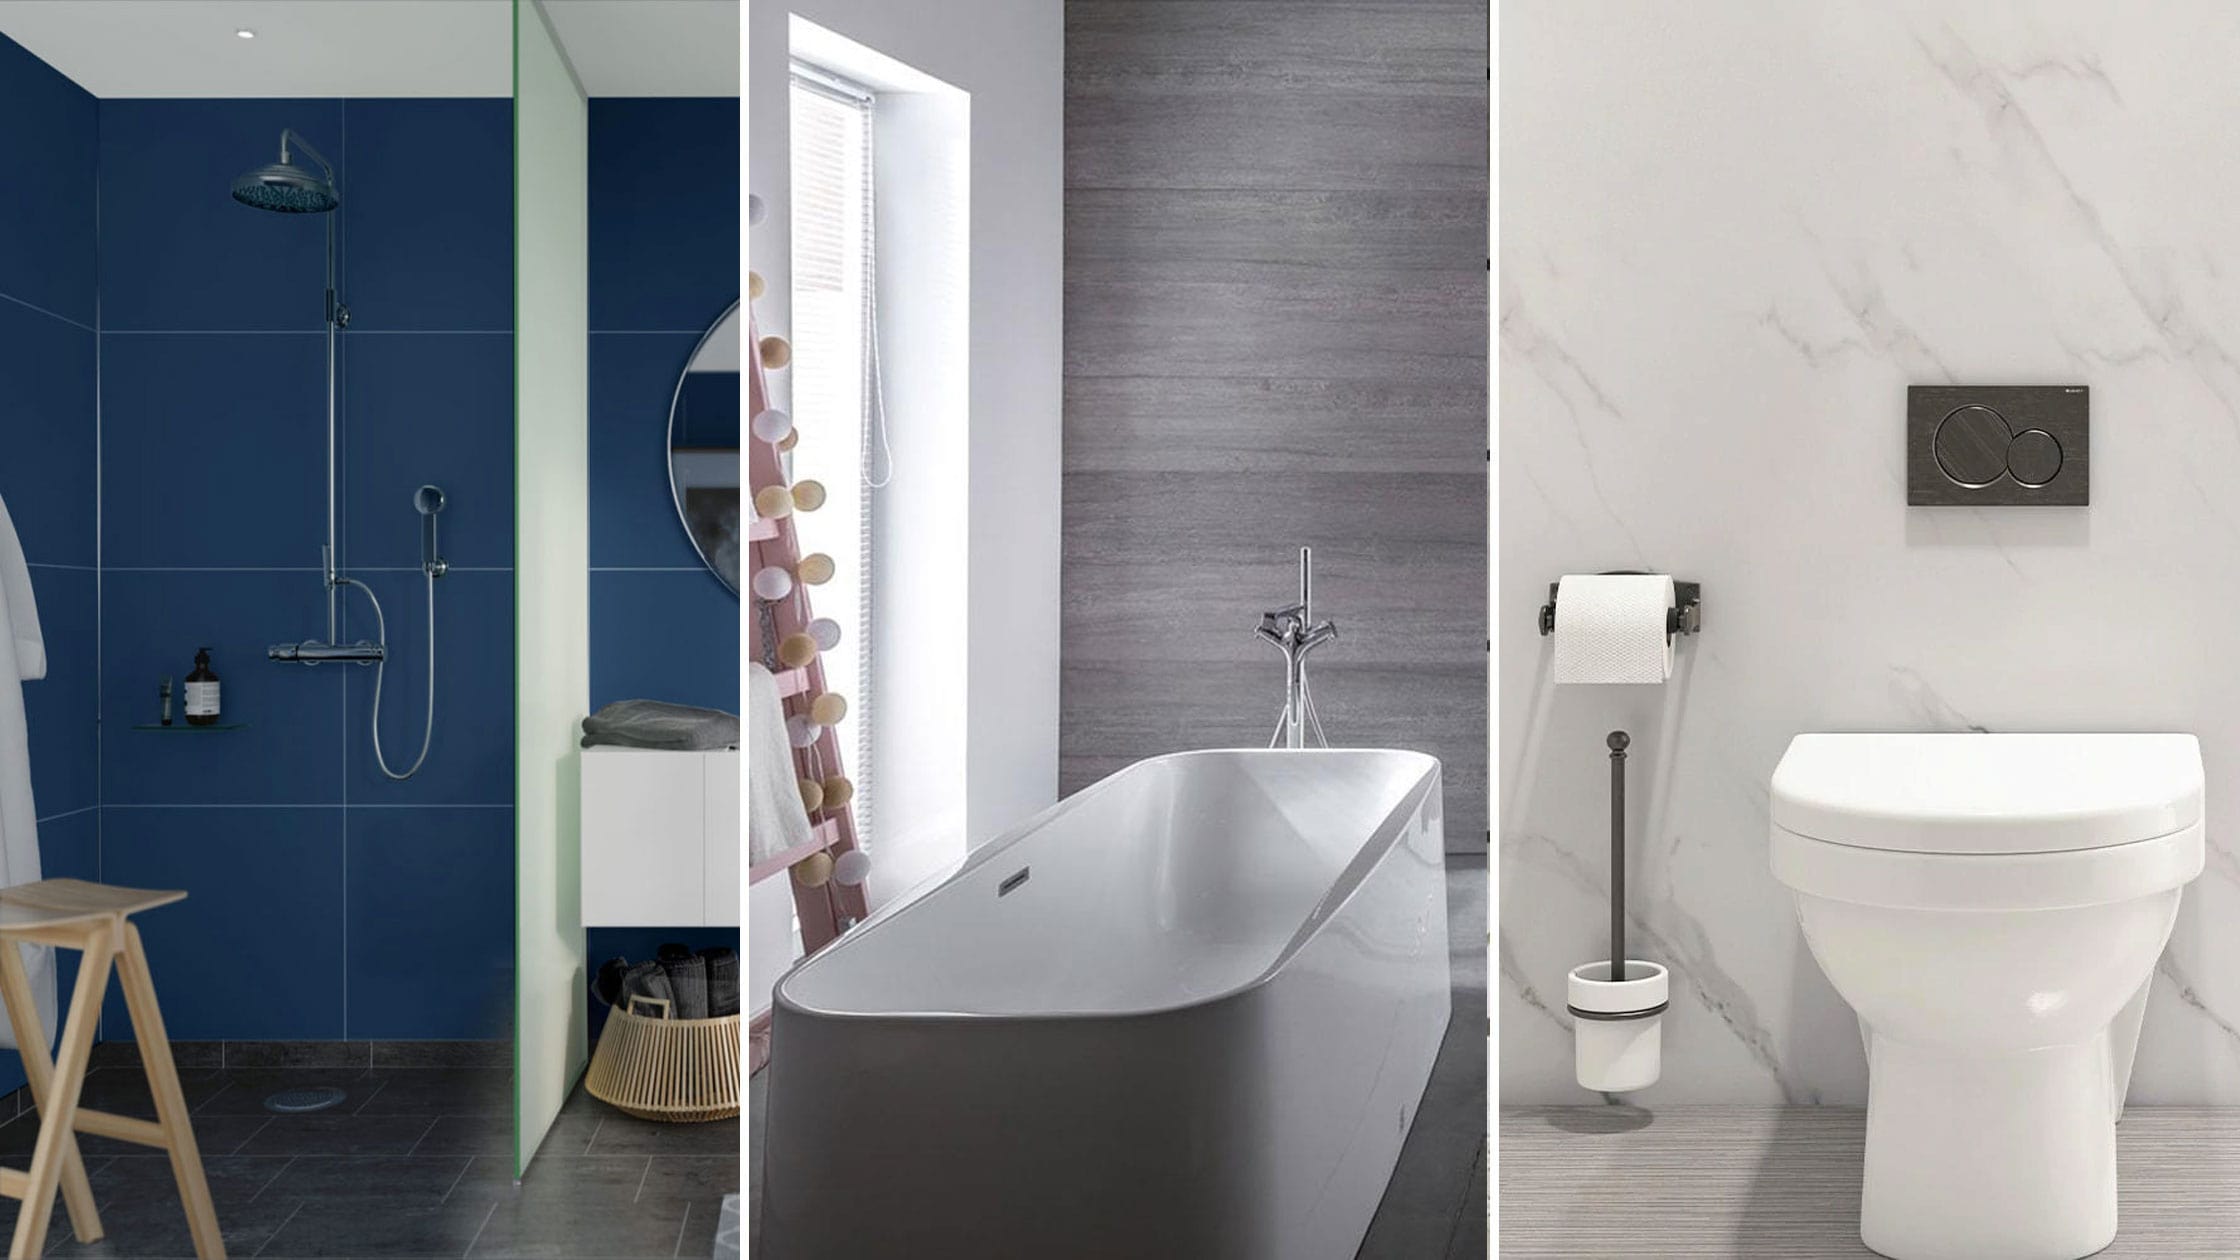
Whether you are looking for a minimal understated look or a classic marble effect look, our wide range of panels caters for all customers no matter their budget or style.

Top Tips for Bathroom Panelling
Panelling your Bathroom is just like panelling any other room in your home, but there are a few bathroom-specific things to bare in mind:
- Check your panels for any damage no matter how slight before installing. Even the smallest crack could breach the waterproof barrier of the panels and cause hidden damage to your walls over time
- Seal the panels. Remember to use silicone sealant between each panel in their hidden tongue and groove joins so as to provide an extra waterproofing barrier
- Tidy up the panels by using the correct thickness of trims to seal corners, edges, and to give you that professional look
- Cut your panels outside of the bathroom, preferably outside as it involves a lot of sawing. It helps to have extra room to manoeuvre as the panels can range up to 2.4 or 2.7 metres in length
- Clean the walls before you start. In other rooms you might get away with a little bit of dusting but it is advisable to clean the walls properly before installation - whether it is onto bare wall or tiled walls. Soap scum, loose tiles, and uneven walls could give you more problems than you first envisaged and could be costly to resolve further down the line
If you have any questions or queries about our wall panels or how to install them, feel free to get in touch with us on 0141 882 8275 or email web@wetwallsandceilings.co.uk.
We can’t wait to see your beautiful bathroom creations!
Want to be inspired? Check out some of our customers completed rooms in our Gallery.